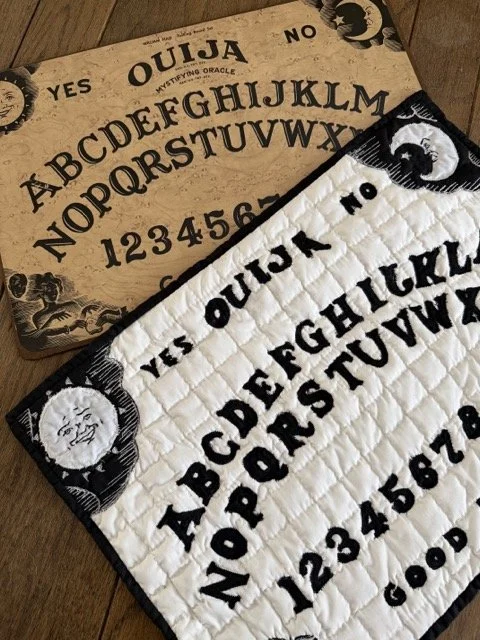
As I was cutting some letters out to appliqué on a tote bag, I looked over at an ouija board in my cabinet, and had one of those ‘ah ha!” moments. What if I make a quilted ouija board? So what did I do? Jumped in with absolutely no plan, as per usual.
The classic Willam Fuld Parkers Brothers Ouija board is the most known to me and likely many other people in my generation. It’s the one I grew up with, the one my mom had when she was a kid and gave to me. I looked at it and thought “well, it’s the perfect place to start.”
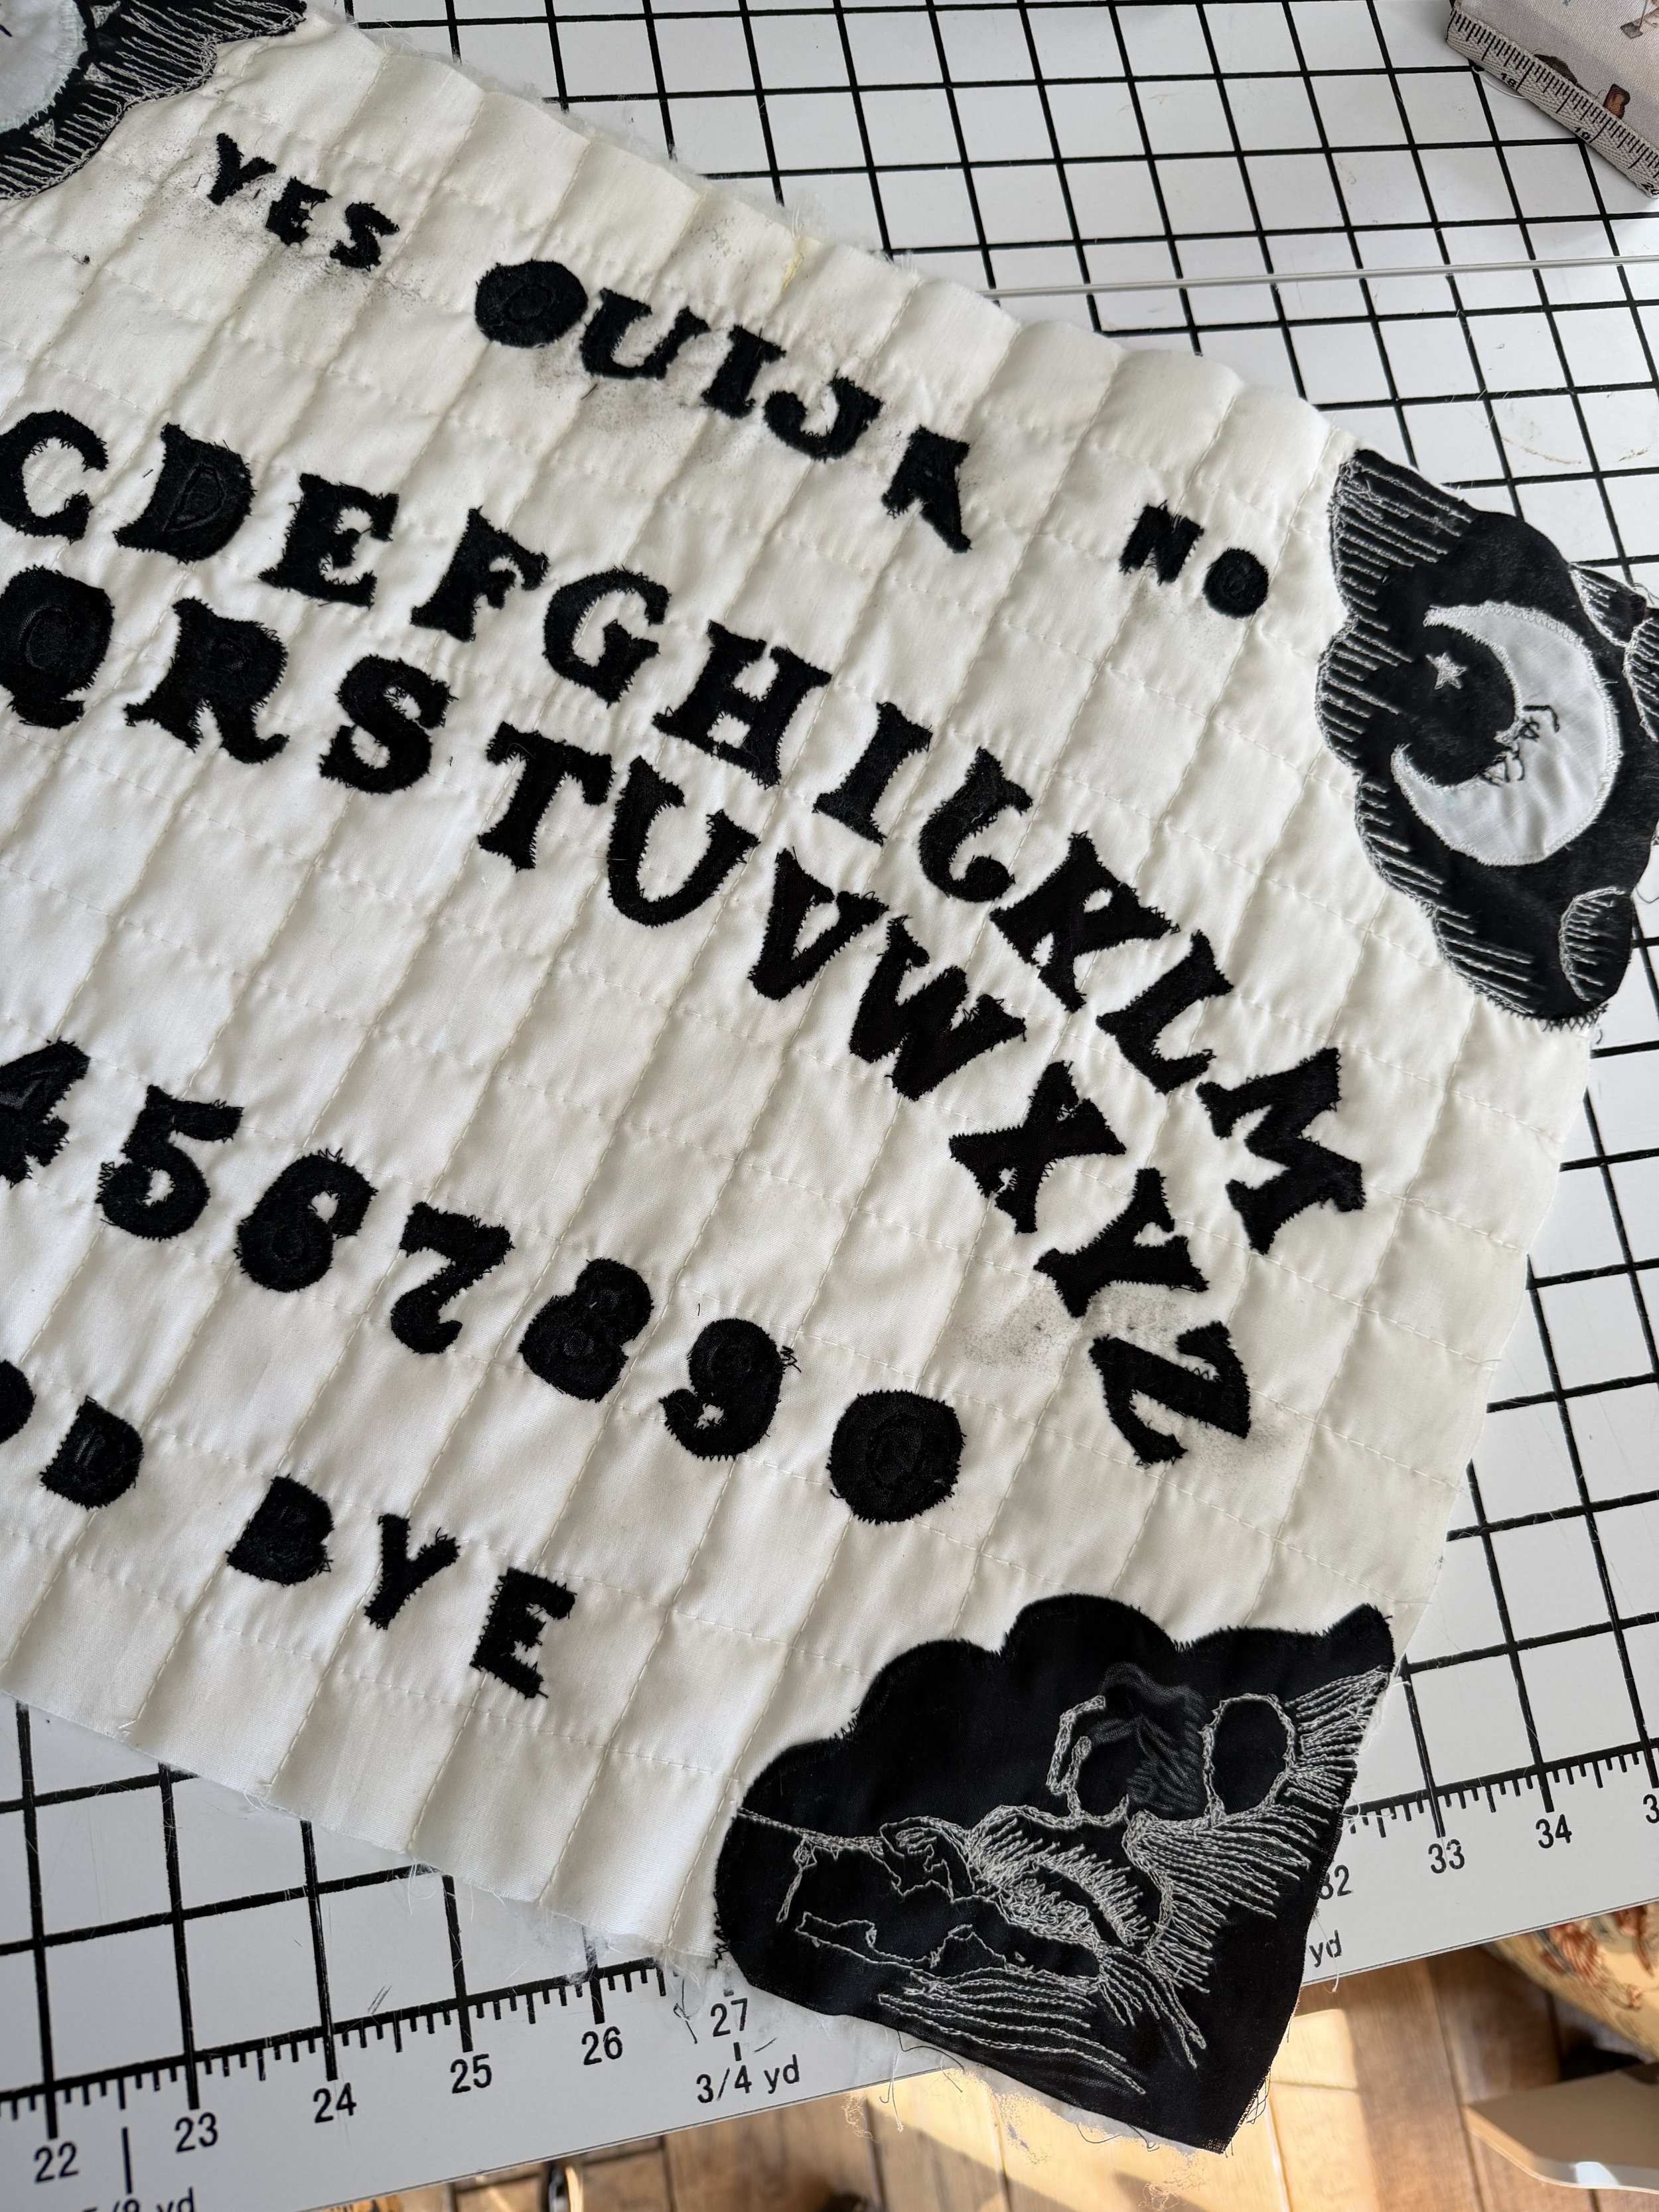
I decided I’d make it the same size as the real board and try to keep it as close as possible. I chose a font that looked similar to the original and laid it out in Illustrator to get the sizing correct. After printing, I cut them out and traced them onto fabric and cut them out again. Tedious, but oddly enjoyable. Now this is where I said “oh man….” I was completely out of iron on adhesive, which was definitely going to make it easier to place the letters and sew them on. Did I buy some? Nope. I was in a flow and decided I couldn’t wait. “Fuck it.”
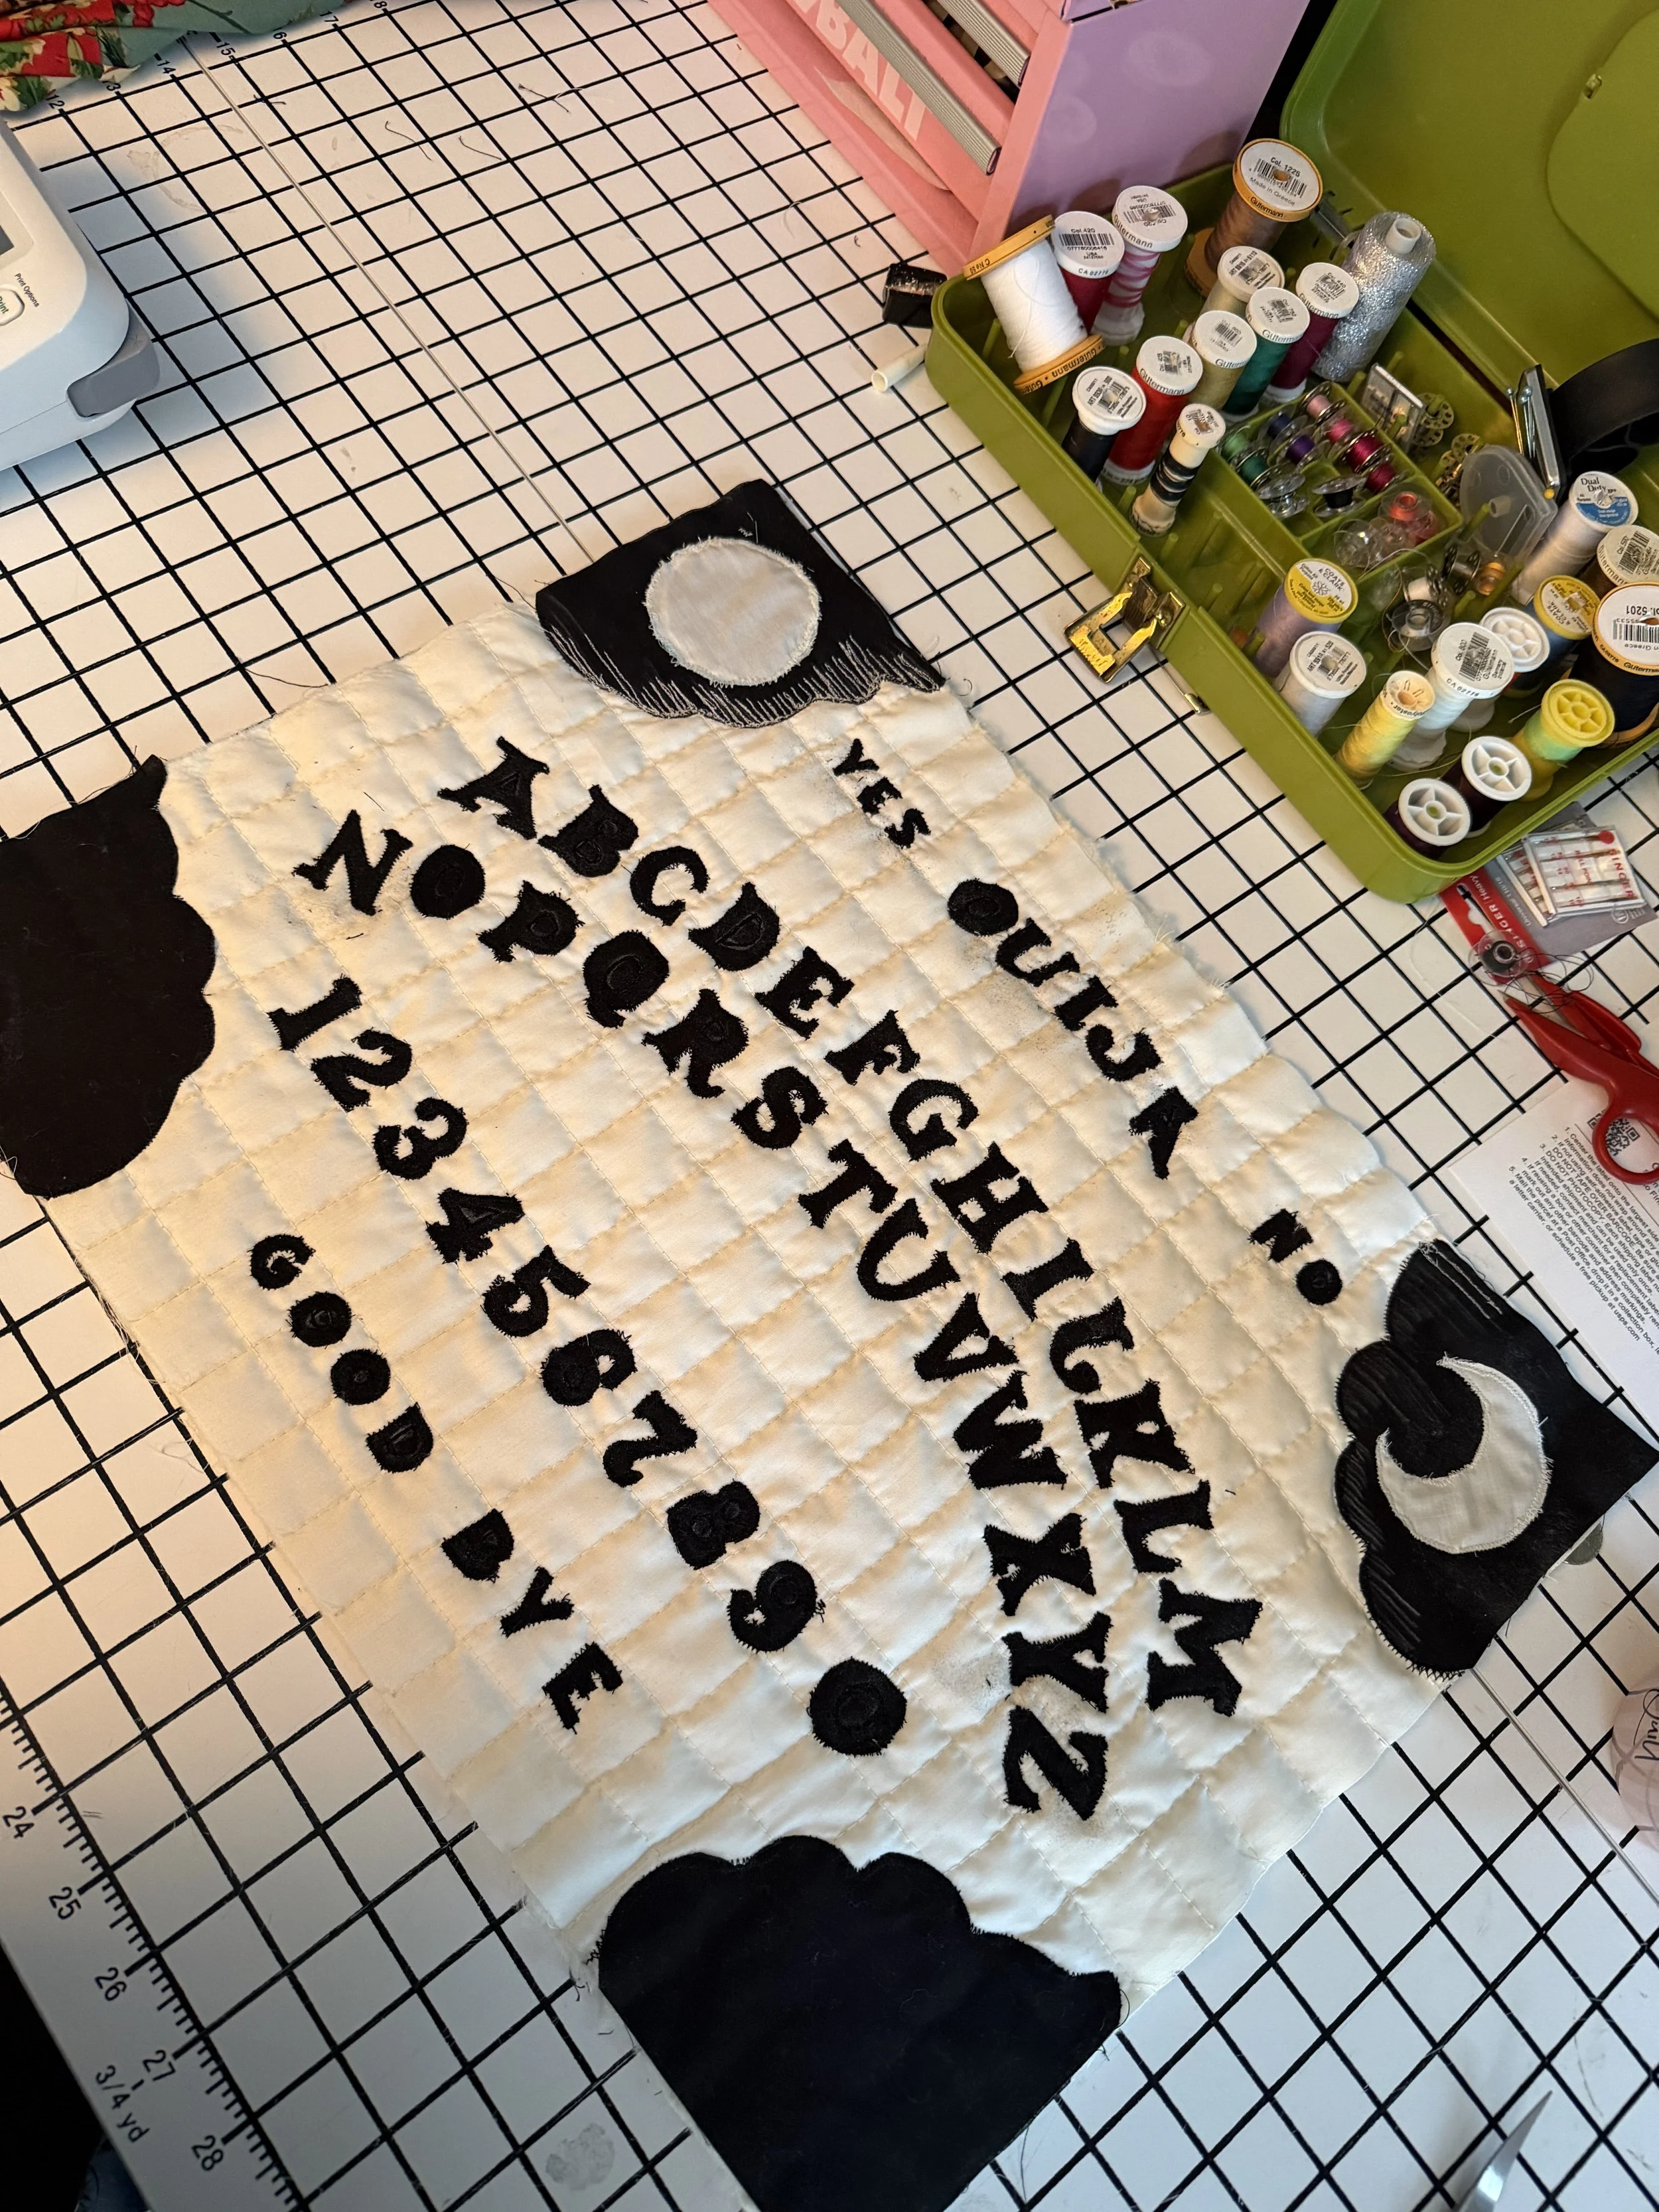
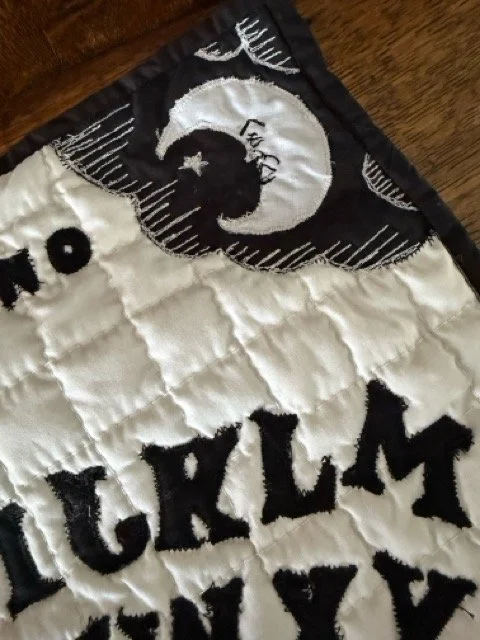
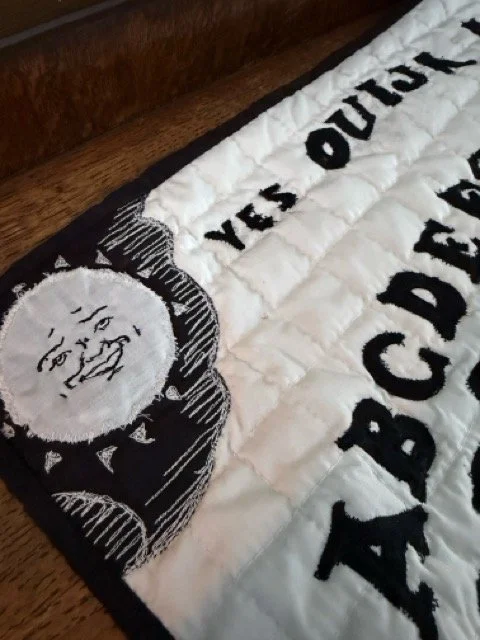
However, I did manage to find some spray adhesive but it did not work how I wanted and I ended up with a bit of a mess, but I figured I'd clean that up at the end. While the letters were challenging, I was unaware that I was about to have a new challenge…illustrations. If I wanted to stay true to the board, I was going to have to figure out how to illustrate the face on both the sun and moon, the sky background, as well as the bottom two corners which feature two people using a planchette. After many internal debates, I decided I was going to whip out the free motion sewing foot and see what I could do. It was my first time illustrating via sewing machine but I have to say, I'm not upset with how it came out.
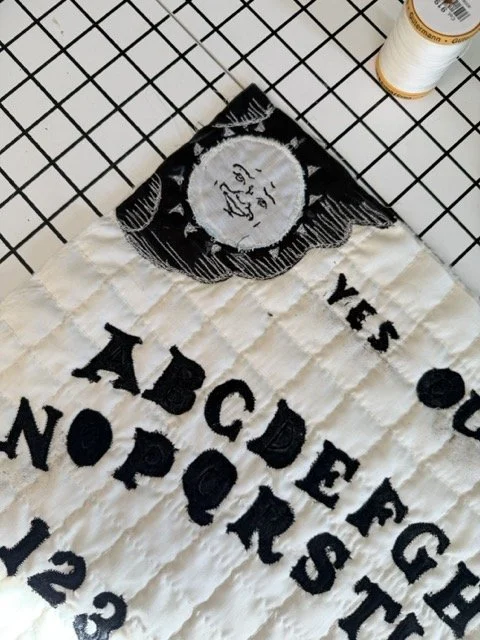
Okay now we’re cooking with gas. I was REAL pleased with the little faces and I was so happy I challenged myself and didn’t leave them blank. I even thought the sky looked good. Okay, now to tackle the harder bottom corners…
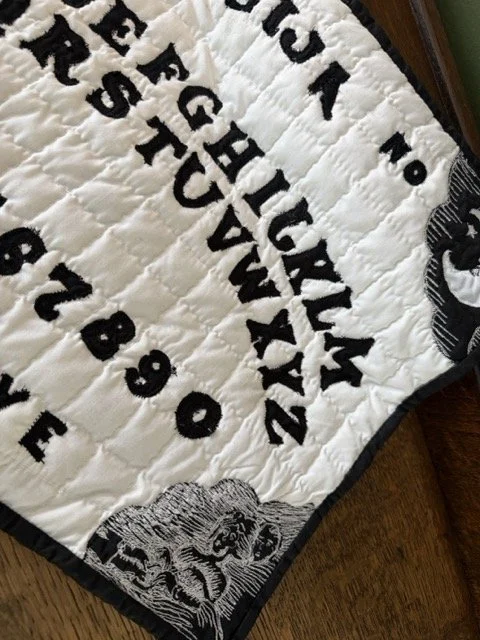
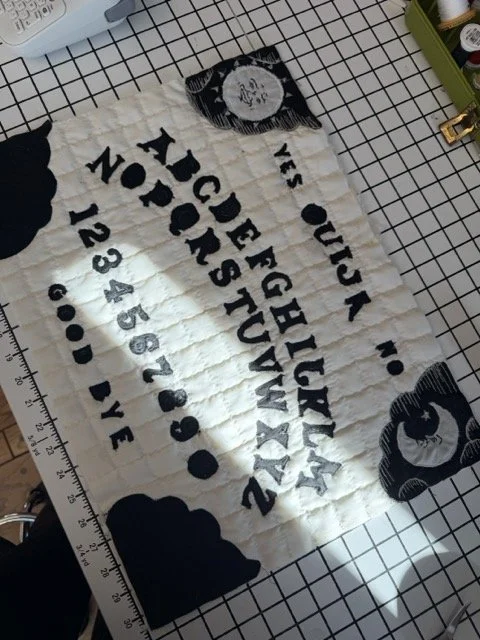
My approach for the bottom illustration was to sketch in basic shapes/outlines as a guide, but the majority of the work was done freehanded on the sewing machine and really hoping for the best.
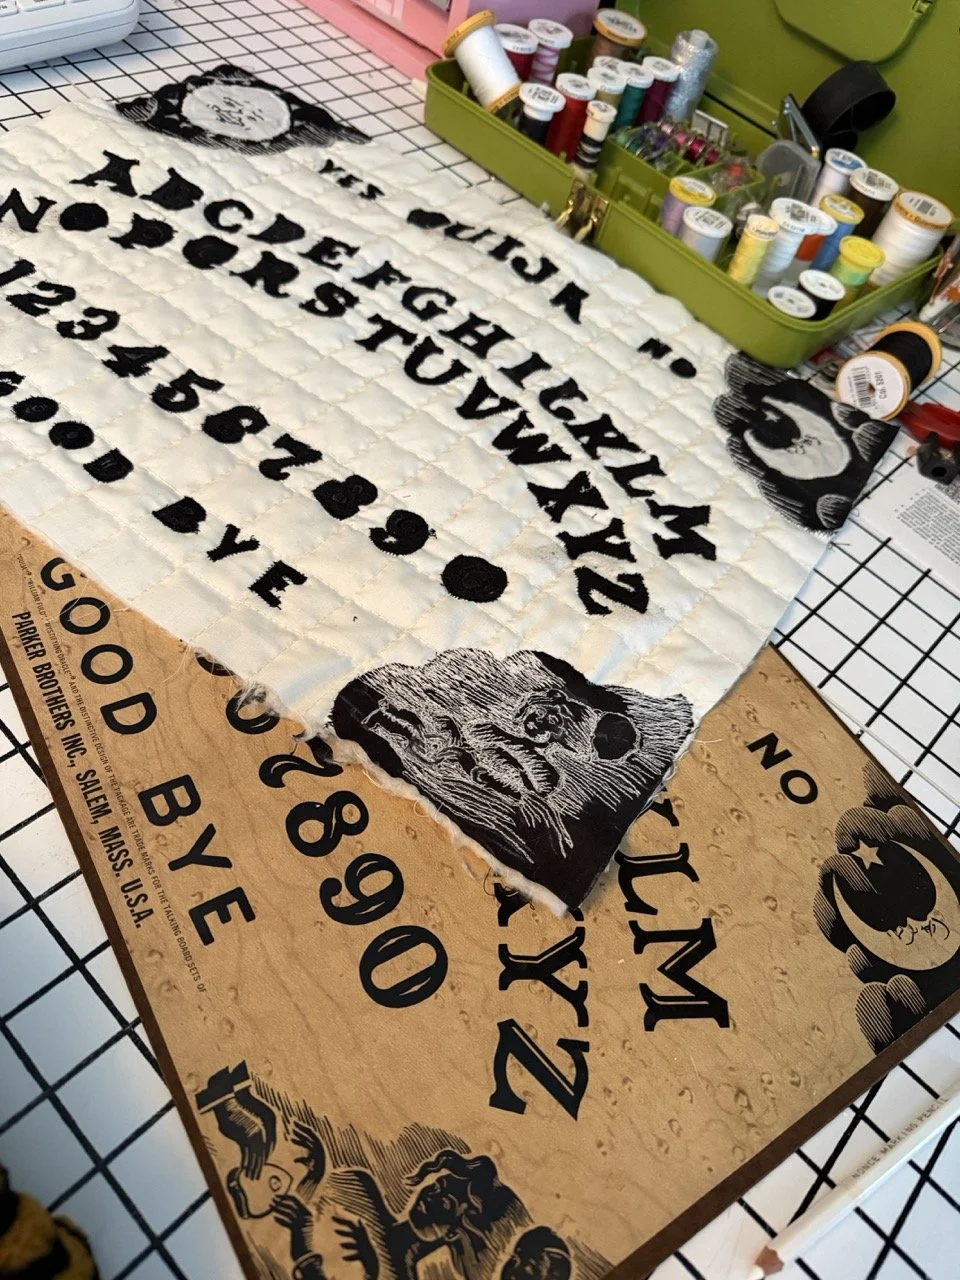
This was hard. But it was feeling worth it and I was happy that it was actually coming together. I kept the original board right next to me to keep comparing as I was going.
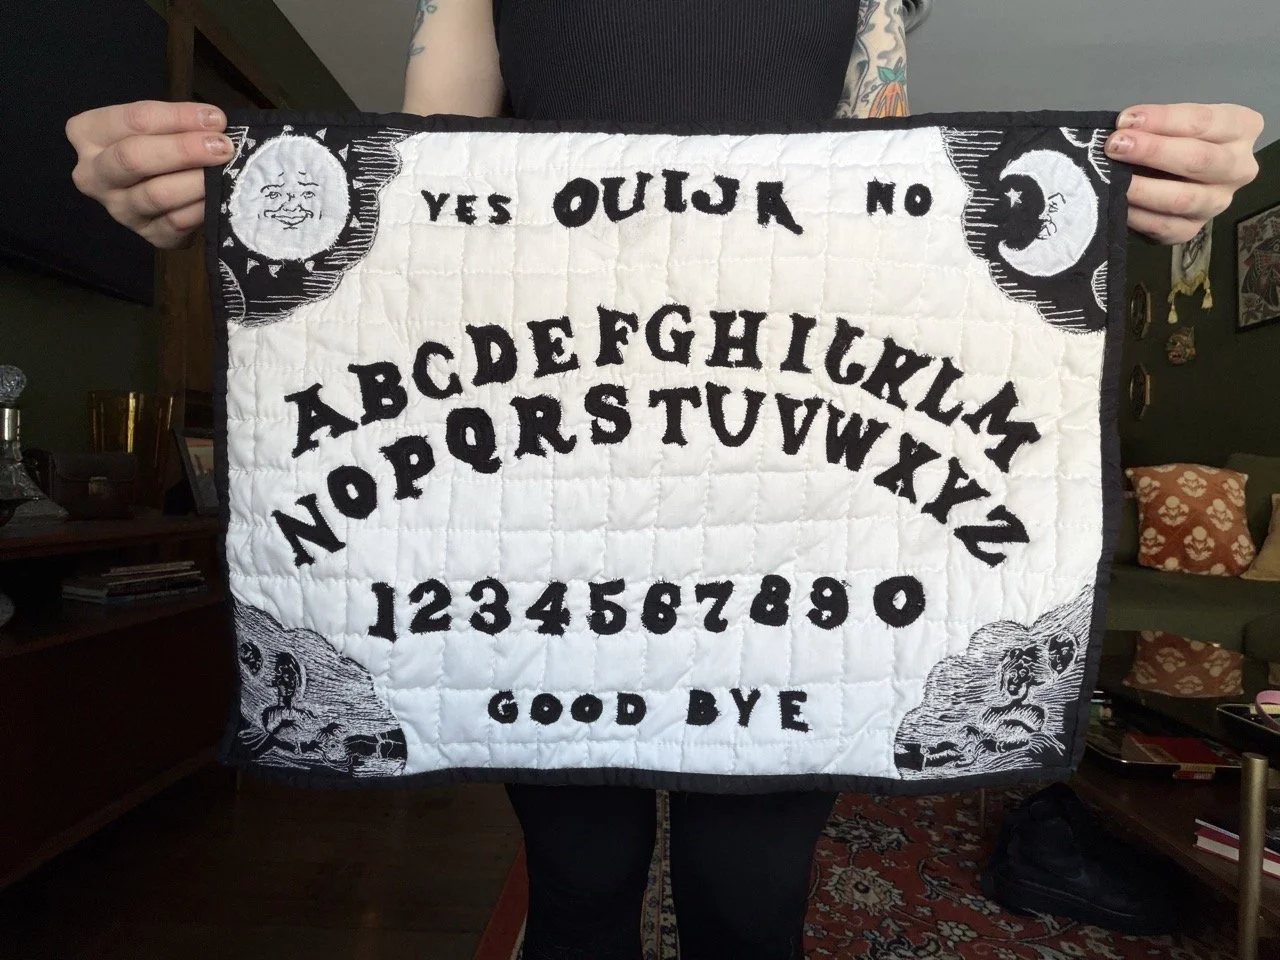
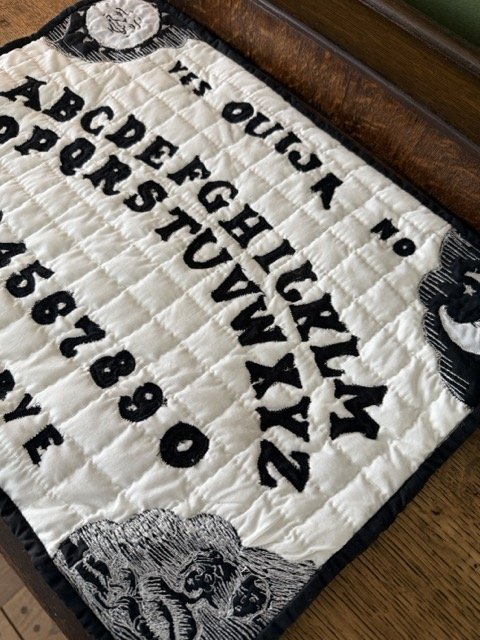
And this is the finished piece! I learned a lot making this, not just about the techniques but also more about my own creative journey and what I enjoy. It challenged me to go out of my comfort zone and do something new, spur of the moment. I’ll definitely be making more spirit boards and may list them on my Etsy. Who knows!